Stack Tower strategy guide
How to turn a run that stalls at floor 10 into one that reaches 100. From how the judgement actually works to per-mode strategy and countering every modifier.
1. Controls
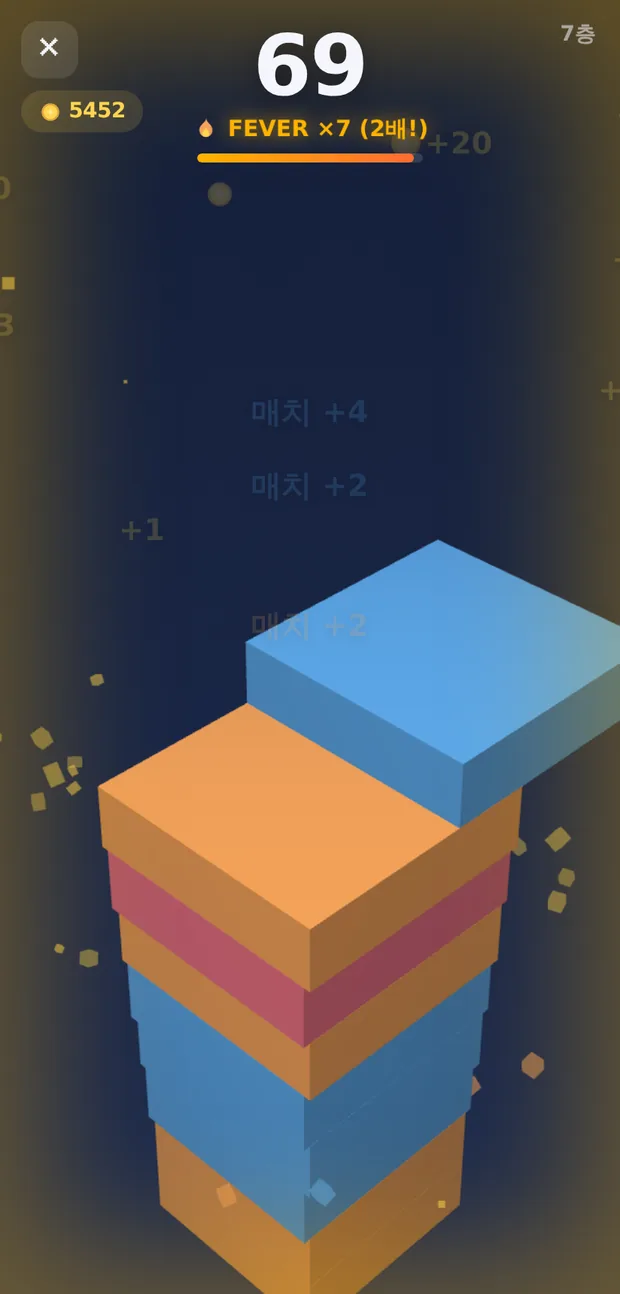
There is exactly one control. Tap anywhere on the screen and the moving block drops where it is. On a PC a mouse click, Space or Enter all work.
Blocks alternate between the X and Z axes. One floor comes left-to-right, the next front-to-back, so you can't keep your eyes fixed on one side. Watch the edge of the block below rather than the middle of the screen — that's where the timing lives.
2. Perfects — the whole game
Land a block almost exactly on the one below and you get a PERFECT. The window is more generous than it looks: if it looks right to your eye, it usually counts.
Why perfects really matter
Not because they score more. It's because from two perfects in a row the block starts growing back. Blocks start at 1.35 units and grow to a maximum of 1.7. Bank a few perfects early and you've bought yourself margin for every later mistake.
Using combos and sound
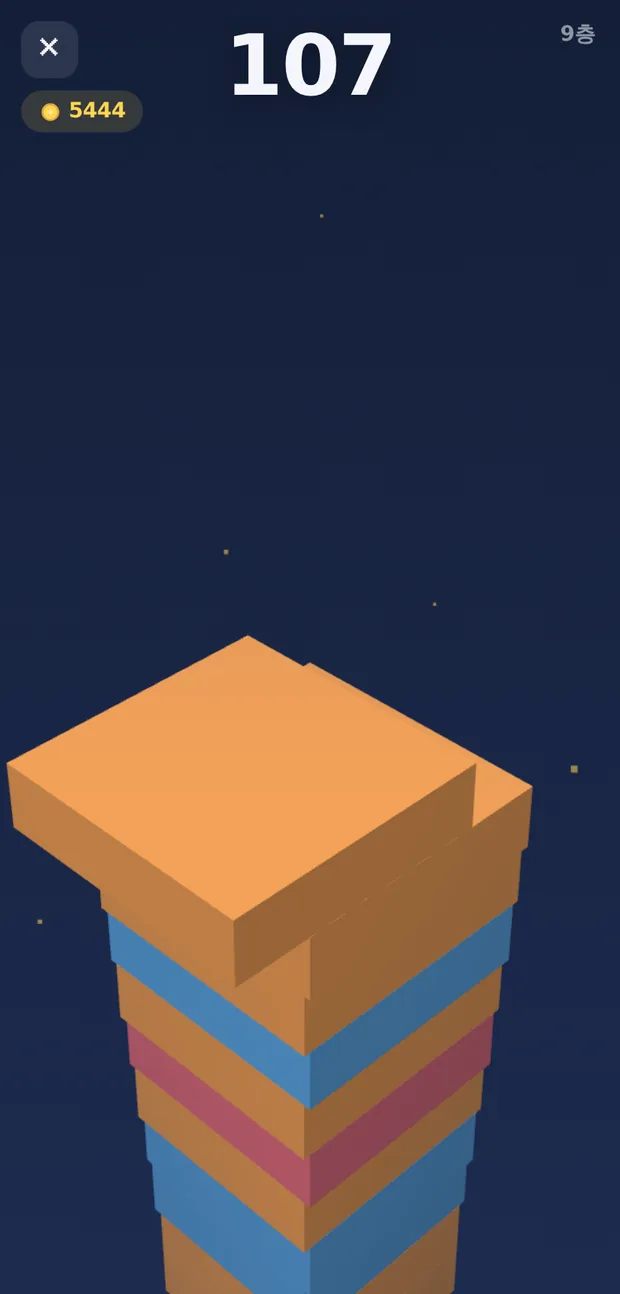
Consecutive perfects score the combo count (1 combo +1, 5 combo +5). And the chime rises one step with every success. That isn't just decoration — it's usable information. You can tell whether the combo is alive by ear alone, which frees your eyes to stay on the block's edge. From five in a row it switches to an arpeggio, so the change is instantly obvious.
3. Fever mode — where scores explode
Four perfects in a row triggers 10 seconds of fever.
- Score and coins doubled
- Block speed 1.5× faster
- A gold glow on the screen edge and a remaining-time gauge in the HUD
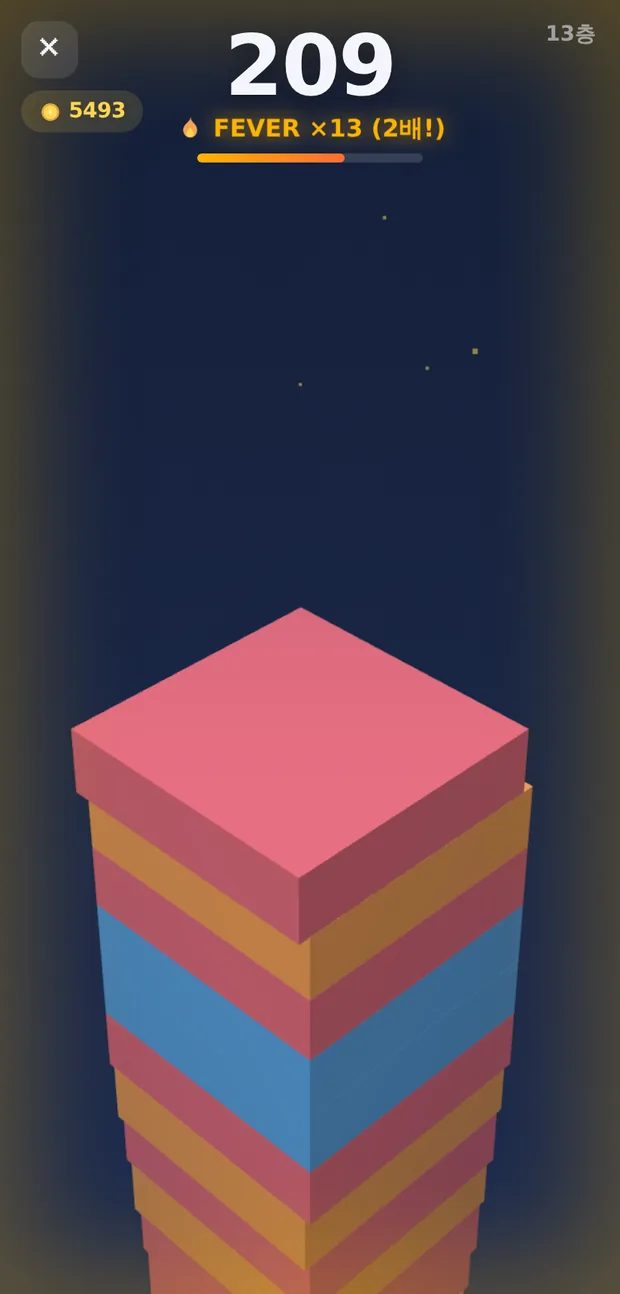
The extra speed is an opportunity, not a penalty. You only get 10 seconds, so faster means more blocks inside the window. The judgement does get harder, though.
4. Earning coins
| Action | Coins |
|---|---|
| Place a block | +1 |
| Perfect | +2 (on top of the +1) |
| Colour match | +5 |
| Golden block | +5 |
| Bonus coin | +10 |
| Stage clear | +5 |
| During fever | all of the above doubled |
Colour match
Land a block the same colour as the one before it and a colour match fires: +2 score, +5 coins. Colours come at random, so in most rounds you can't set one up — if a matching colour arrives, treat that floor as one you have to land. The one exception is the Colors stage, where you can see the next colour coming and throw away blocks you don't want (see the stage table below).
Golden blocks
From floor 3, gold blocks appear with an 8% chance. Landing one gives +5 score, +5 coins and a coin chime. In stages carrying the Gold Rush modifier the chance jumps to 30%, making that round a coin bonanza.
Bonus coins — missing on purpose
Occasionally a coin floats in the air at the edge of the block's path. You can never collect it with a perfect. You have to deliberately misalign so the block's edge overlaps the coin's position — that's worth +10 coins.
So it's a device that asks "will you trade a bit of block for coins?" Only go for it when the block is near full size and you have room to spare. If your platform is already narrow, ignoring it is correct.
5. Per-mode strategy
Classic — invest early, cash in late
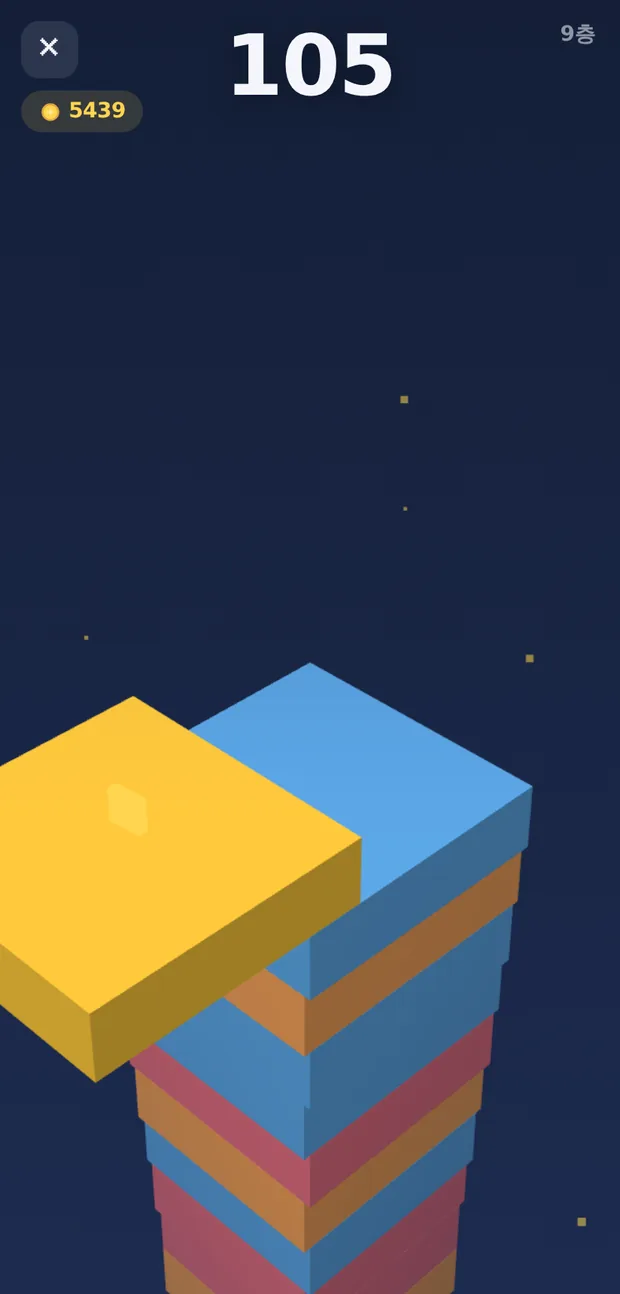
Speed creeps up every floor (starting at 2.1, +0.028 per floor). Past floor 30 you feel it sharply. Spend the first 15 floors growing the block to maximum with perfects, then prioritise survival. Bonus coins are only worth chasing early.
Time Attack — speed over accuracy
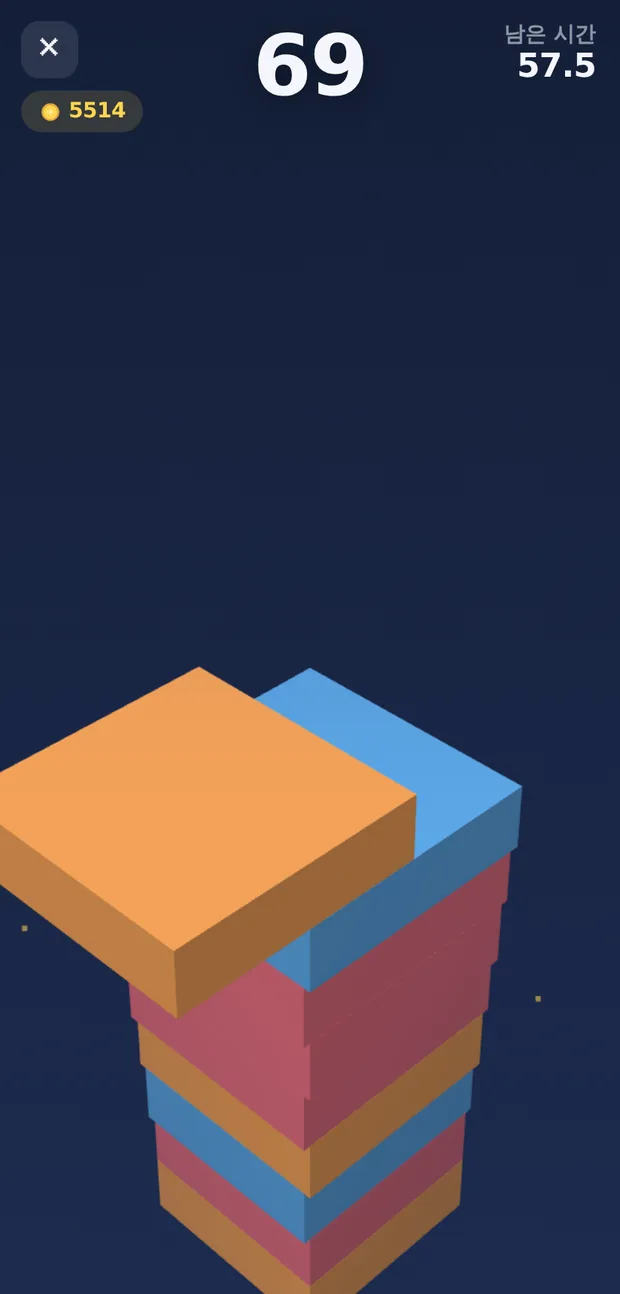
With a 60-second limit, hesitating for a clean landing costs you. Every second the block spends sliding back and forth is lost time. Some misalignment is fine — keep tapping without breaking rhythm and your total comes out higher.
Fever is still strong here, though. The 1.5× speed means more blocks in the same window, so opening with four perfects to light fever early lifts your total a lot. The last five seconds tick audibly, so you can track the clock without looking.
Stages — a game whose goal keeps changing
Where every other mode competes on one thing — height — stages ask for something different each round. Eight goal types rotate in order.
| Goal | Clear condition | How to do it |
|---|---|---|
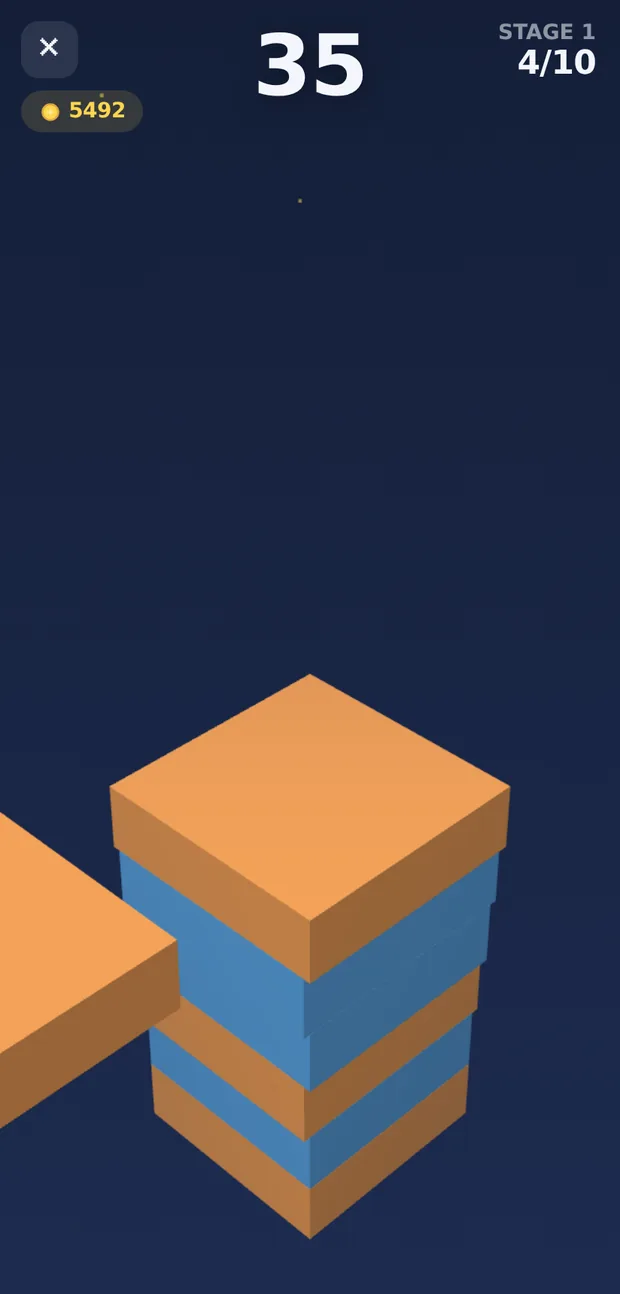
| Stack | Place 10 blocks | The baseline. The platform can narrow all it likes as long as you hit the count. |
| Grow | Start on a narrow platform and widen it 4–6 steps | In this round one perfect grows both axes together. You don't need to chain them, so a single miss doesn't cost the width you've already built. This round also has a grow window 2.2× wider than a perfect — land inside it and the block grows a step without being sliced (no combo or score bonus, though). |
| Precision | 4–6 perfects | Count and height are irrelevant. Don't rush — just aim for the centre. |
| Shape | Land inside the guide 6–8 times | A white outline appears at the height the block passes through. Put the block inside it and this floor's target width remains. Outline in the middle of the tower means land a perfect; offset to one side means miss by exactly that much. |
| Streak | 4–6 perfects in a row | Not a total — it has to be unbroken. One miss and you start over. Because it multiplies out, each extra link gets sharply harder — so this round widens the perfect window by 1.5×. |
| Sprint | 12–18 blocks inside a time limit | The only stage with a clock. The remaining time shows in the HUD and running out ends the round. Stack fast rather than chasing perfects. |
| Colors | The same colour in a row, 3–5 times | Not a total — it has to be unbroken. Land a single different colour and you're back to zero. That's why this round alone puts a bin beside your tower. Drop a mismatched block cleanly inside the bin and your streak survives. Clip the rim and it doesn't go in — it tumbles out and the streak breaks. You get plenty of tosses (18–30) — the constraint isn't the count, it's your aim. Matching colours still pay +2 score and +5 coins. |
| Bridge | Span 6–9 tiles sideways | This round grows sideways instead of up. Tile length is fixed and depth is trimmed by however much you're off, exactly as with the tower — but there's only one axis to line up, so the rhythm is different. The camera drifts sideways along the bridge. |
In Colors, the place to save tosses is "when the streak is at zero." With a streak running, a mismatched block has to go in the bin — landing it starts you over. But if the streak is already zero there's nothing to protect, so just landing it costs you nothing. That's the only time to check the Next chip: if next matches the top, one toss brings your streak forward; otherwise it's better saved. A matching colour arrives only one time in three, so linking one step costs two tosses on average — the budget drains faster than you'd think.
Gold blocks have no colour. They neither extend nor break the streak — landing one pays +5 coins, and the block after it is compared against whatever colour was under the gold. That's why stage 4, which carries Gold Rush, is a coin bonus round rather than a wall. Colors stages appear at stages 4, 12, 20 and 28.
Getting it in the bin is the aiming. There's no separate button: when the block passes over the bin, tap exactly as you would to stack. The bin is only a little wider than the block, so the block has to land fully inside the walls to be discarded. Clip a wall and it rolls out, the toss is spent, and your colour streak breaks. The bin's visible size is the tolerance. It always sits in the same place, toward the upper left of the screen, so your hand learns the spot. Run out of tosses and the bin disappears, leaving just empty space there.
Shape is the one goal where you miss on purpose. To narrow the block you have to push it sideways by exactly the difference — and the outline tells you how far instead of making you measure by eye. Don't estimate; put the block in the outline. The outline alternates left and right so the tower doesn't lean one way. If a full lap (8 floors) goes by without reaching the target, a default-size platform is laid fresh, so the round can never get stuck with a platform too thin to work with.
Pressing the Stages button opens a select screen first. The list starts at the stage you're up to — that's the row with the yellow outline. Scroll down for what's coming, up for what you've cleared. Cleared stages can be replayed, and you can also skip straight ahead.
One stage is one round. Clear it and the tower is laid fresh from the ground as the next stage begins. Even if your platform got narrow during a stage, clearing it resets you to full size — so when things get tight, focus on finishing the goal. Score and coins carry across rounds.
So you can focus on the goal, stages hide the landmark silhouette, the progress badge in the top right, and the best-height line. Compete on height in Classic, Time Attack and Daily instead.
Before a stage begins, this round's goal and rules appear as an overlay. Read it. From stage 10 onward two rules apply at once.
1v1 Duel — same blocks, different hands
Opening a duel shows the list of public rooms that are live right now. Tap any of them to go straight in. The list refreshes itself every few seconds.
There are two kinds of room. A public room is listed for anyone to join; a private room stays off the list so only people with the link or code get in. Public rooms can be shared by link too, so open a public one if you want to invite a friend and take strangers as well.
Creating a room puts you in the duel room. You'll see the code and both seats, and you can do three things there — send the link to call a friend, warm up alone while you wait, or simply wait.
Warm-up scores don't count toward the duel. Even while warming up you can tap the Warming up · tap to invite line at the top of the screen to send the link from right there.
When an opponent joins, both seats fill and after a three-second countdown you both restart from zero. The server decides the start time, so even if the host and the joiner learn about it at different moments, you both set off at the same instant.
Pressing Create a room generates a six-character code and an invite link. Send it with Send the link and your friend only has to tap it — no copying codes across. They land in that room and you both receive exactly the same block order and start together. In other words, it's decided by skill, not luck.
If a link won't work, read out the code instead. Entering the six characters under Join by code does the same thing.
Across the top of the screen you'll see your score · gap · their score live. Green when you're ahead, red when you're behind. Even if you fall first the screen stays up, waiting for the result until your opponent finishes.
No one to play with? Use a ghost duel. A run somebody else left on the same seed becomes your opponent, and it works even when nobody else is online. Your own runs become the next person's opponent too.
Duel scores do not enter the global leaderboard. The seed is fixed, so they can't be compared with the freely stacked runs in other modes.
Daily Challenge — a game of memorising the pattern
The date is the seed, so however many times you retry that day, the block order and colours are exactly identical. Every player in the world gets the same round.
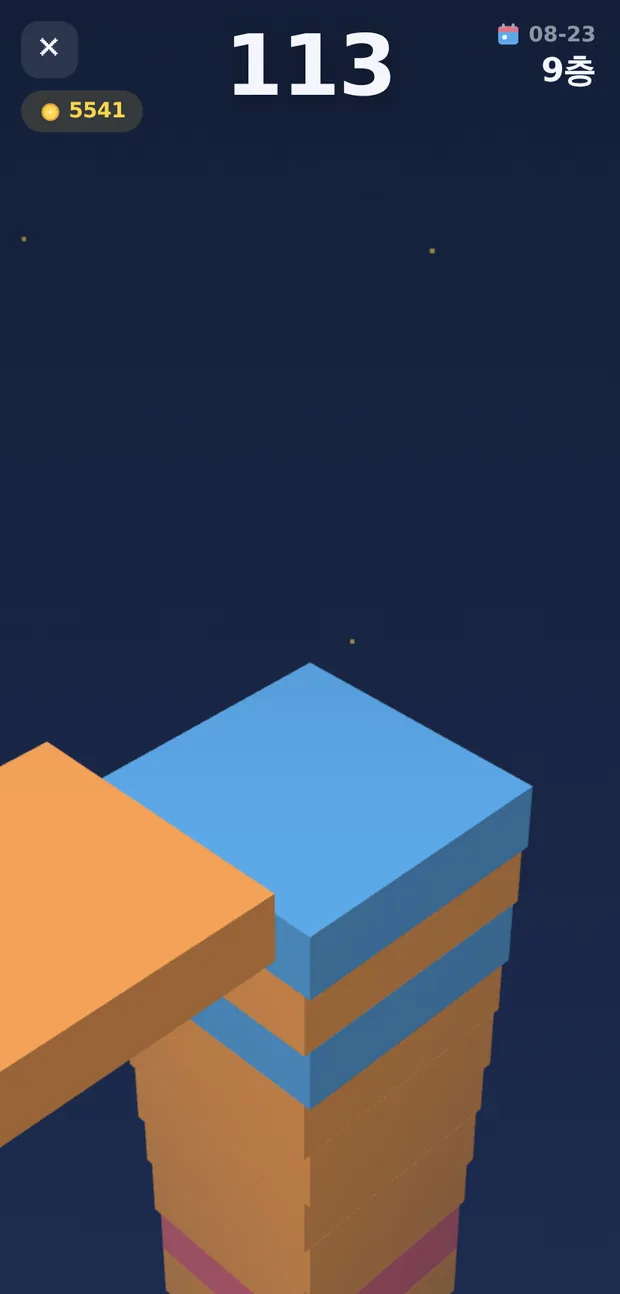
Which means repetition is skill here. Remember which floor the gold block shows up on and where the bonus coins appear in your first run, and you can prepare for them in the next. If you're chasing the top of the leaderboard, Daily gives you the best odds.
6. What to spend coins on, in order
The shop has four kinds of thing. Skins, effects and themes are purely cosmetic and don't affect play; boosters are consumables good for one round; permanent upgrades stay once bought.
You don't need to buy themes. They unlock on their own as your block count adds up (50 · 100 · 200 … 800 blocks), so only spend coins when you don't want to wait. They don't affect play, so boosters and upgrades come first.
| Upgrade | Max | Effect |
|---|---|---|
| Fortune | Lv 5 | +30% coins earned — it speeds up collecting every other upgrade, so raising this first pays off most. |
| Precision | Lv 5 | +15% perfect window. Combos and fever both come along with it, so it's the most noticeable. |
| Growth | Lv 4 | +32% block growth per combo. Earns its keep in long runs. |
| Footing | Lv 4 | +8% starting block. A small effect, but it applies in every mode, always. |
Levels get more expensive as they rise (Precision runs 550 → 1550). Maxing all four costs 19,000 coins, so unless you're in a hurry, fill Fortune first and raise the rest slowly.
7. Countering all 13 modifiers
These are rule changes that appear only in Stage mode. They never apply to Classic, Time Attack or Daily.
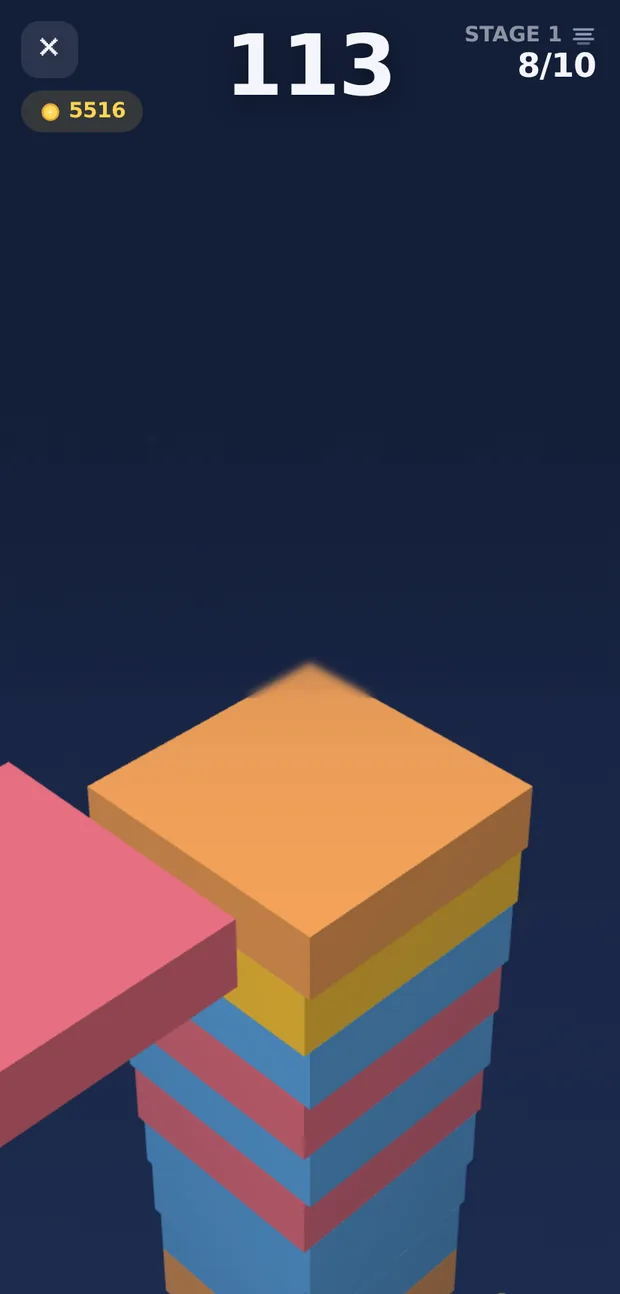
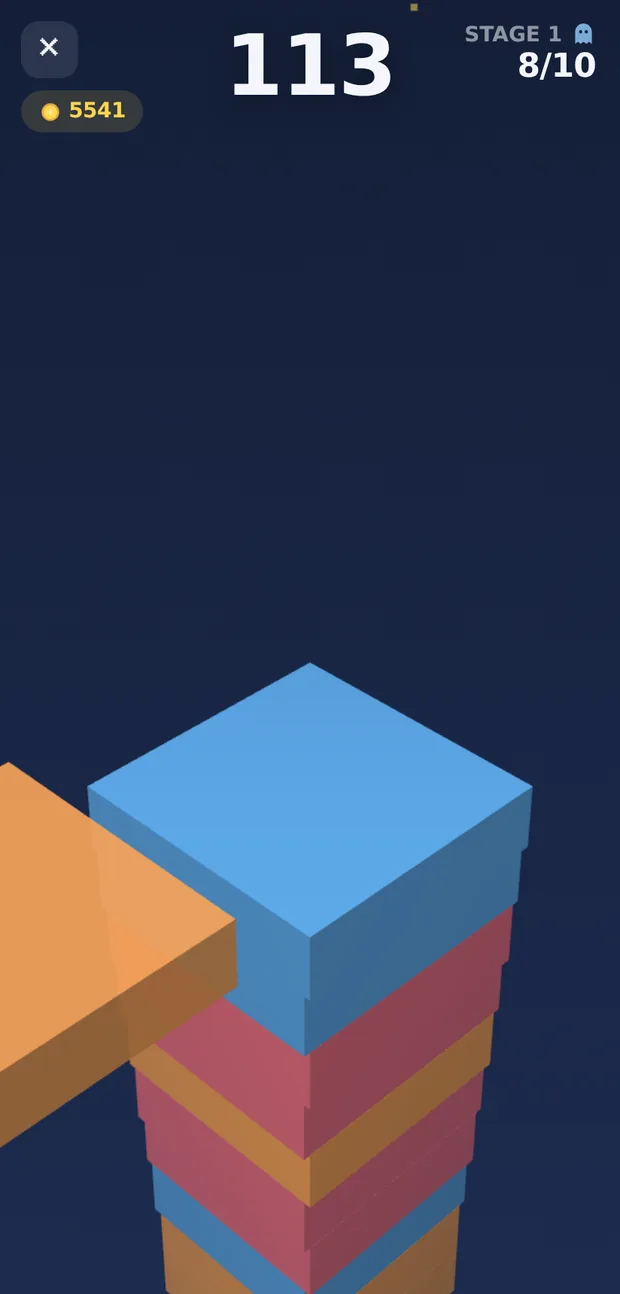
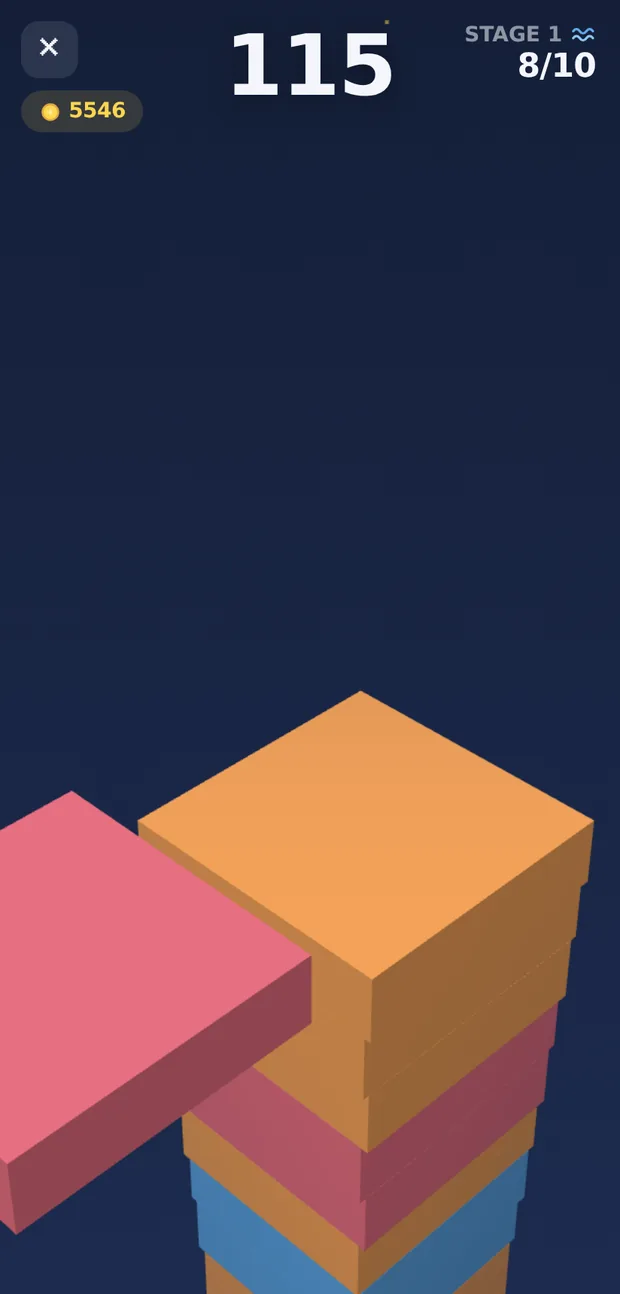
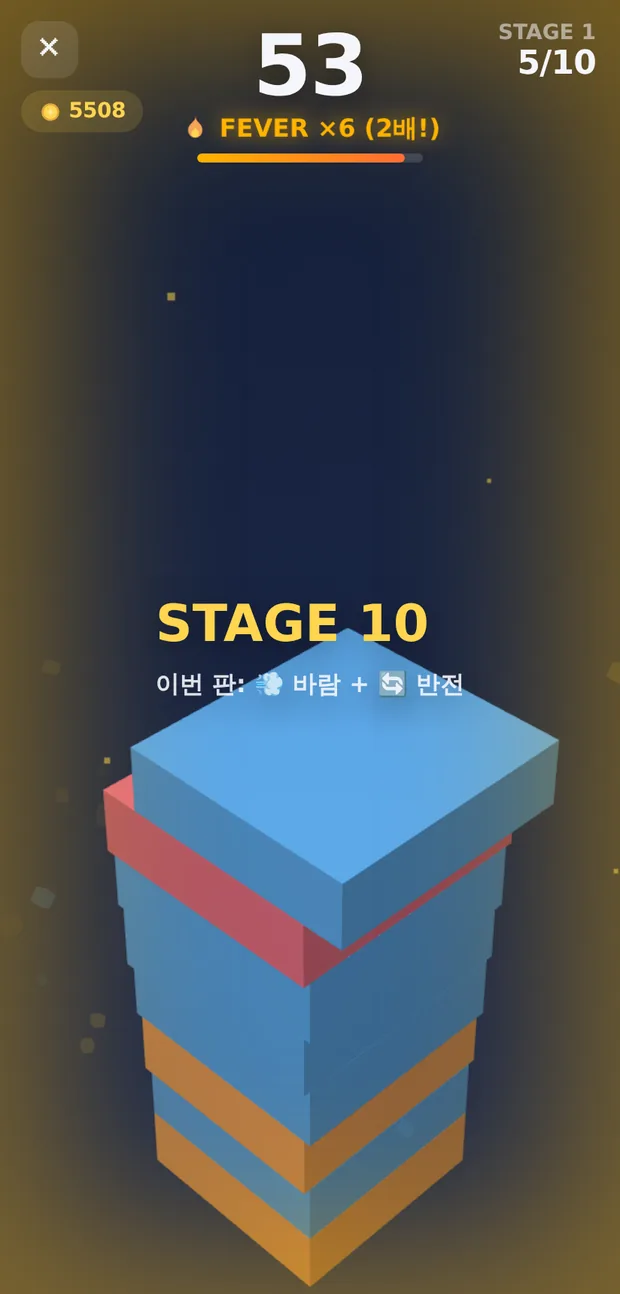
| Modifier | Effect | Counter |
|---|---|---|
| Wind | The block drifts slightly on a sine wave | The drift has a period. It's slowest at the moment it changes direction — take it then. |
| Reverse | Every 3–5 floors the direction flips without warning | Flips never happen near the edges. You only need to be careful around the middle. |
| Gold Rush | Gold block chance 8% → 30% | This is a reward round, not a difficulty one. Survive as long as you can and sweep up coins. |
| Burst | Every 5 floors, two floors at 1.8× speed | The fast stretches are regular. Brace yourself at every multiple of five. |
| Sway | The whole tower rocks side to side | Tower and block move together, so watch the relative position of the two, not absolute position. The moment the tower changes direction is the most stable. |
| Fog | The top half of the screen is hidden | Count the timing of the block emerging from the fog and play it as rhythm. Leaning on the sound is easier. |
| Narrow | The starting block is 30% smaller | There's no route but growing it back with perfects. Give up on bonus coins in this round specifically. |
| Ghost | The block blinks translucent | The blinking has a period too. Build your rhythm around the fully visible moment. |
| Wave | Speed keeps surging and slowing | Only tap at the slowest moment. Be prepared to wait out a full pass and you'll be safe. |
| Shrink | The block gets smaller the longer it moves (up to 20%) | The size you land is the next platform. This is the one rule where dropping early beats waiting for the perfect spot. Each block starts over at full size. |
| Hurry | The block speeds up the longer you hesitate (up to 2.2×) | Miss the first pass and the next is much harder. It never drops on its own so you won't die from it, but dragging it out only costs you. |
| Drift | Slides 0.22 further in its direction after you tap | The distance is fixed regardless of speed, so once you learn it, it repeats exactly. Tap slightly before centre, not at it. It is never paired with Reverse. |
| Magnet | Perfect window 1.6× wider | The one rule that helps you. It is the best round for holding a long combo and keeping fever lit — use it to offset whatever else is running. |
8. Using boosters
Consumables bought with coins in the shop. Tap the chips at the bottom of the home screen to arm them for your next round; one is spent when the game starts.
| Booster | Price | Effect | When to use it |
|---|---|---|---|
| Shield | 250 | Survives one complete miss. The block isn't lost — it's placed as it is. | When you're going for a record. The most valuable booster there is. |
| Jump Start | 180 | Start at floor 5 (+5 points) | Time Attack. Saves the whole time it takes to build the first five floors. |
| Slow | 180 | 30% slower for the first 10 floors | Good for growing the block with early perfects. Suits Classic well. |
| Lens | 220 | 1.6× perfect window for the first 10 blocks | When you want the early combo guaranteed. Four in a row lights fever, so the real gain is far bigger than 10 blocks. |
| Wide | 200 | Starting block 30% larger | Spare width is survival time. It especially earns its keep in stages with a harsh modifier. |

9. Daily missions and streaks
Three missions are handed out each day, paying 80–200 coins each. Missions are date-seeded too, so every player gets the same ones. They reset at midnight.
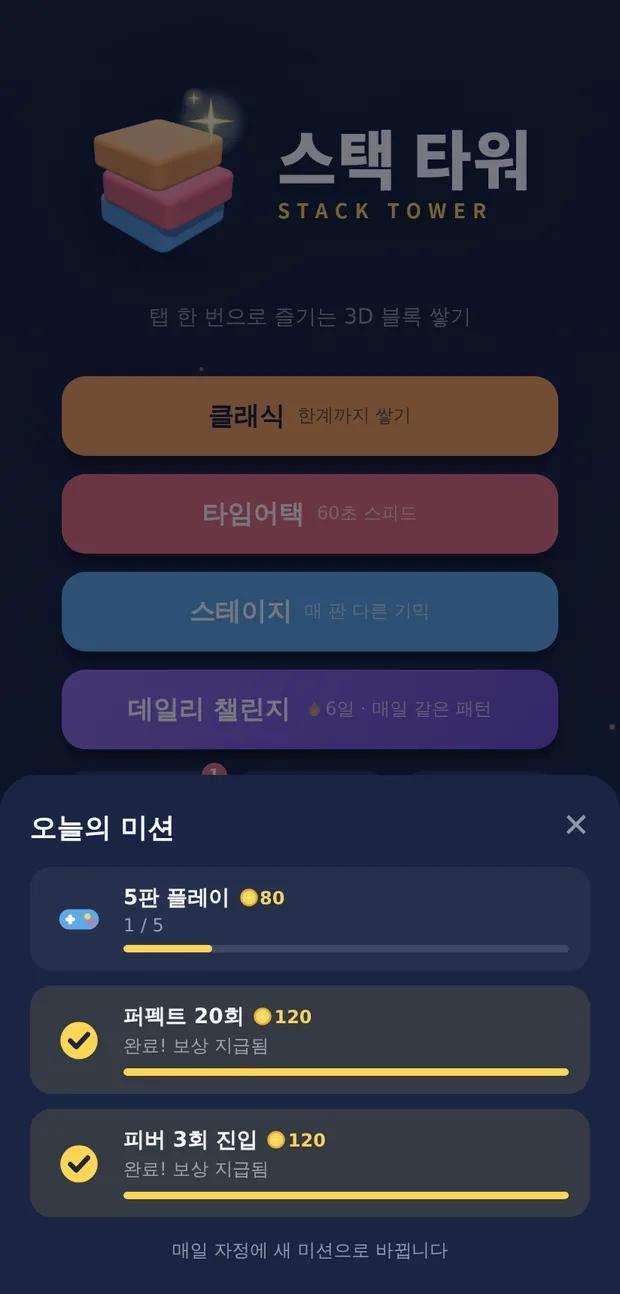
The number of consecutive days you've played the Daily Challenge builds a streak, paying 100, 300 and 1000 coins at 3, 7 and 14 days. Skip a single day and it starts over — so if you need coins for boosters, one Daily round a day adds up nicely.
10. All 33 achievements
These pay coins when earned. Most open naturally as you play, but a few need deliberate effort.
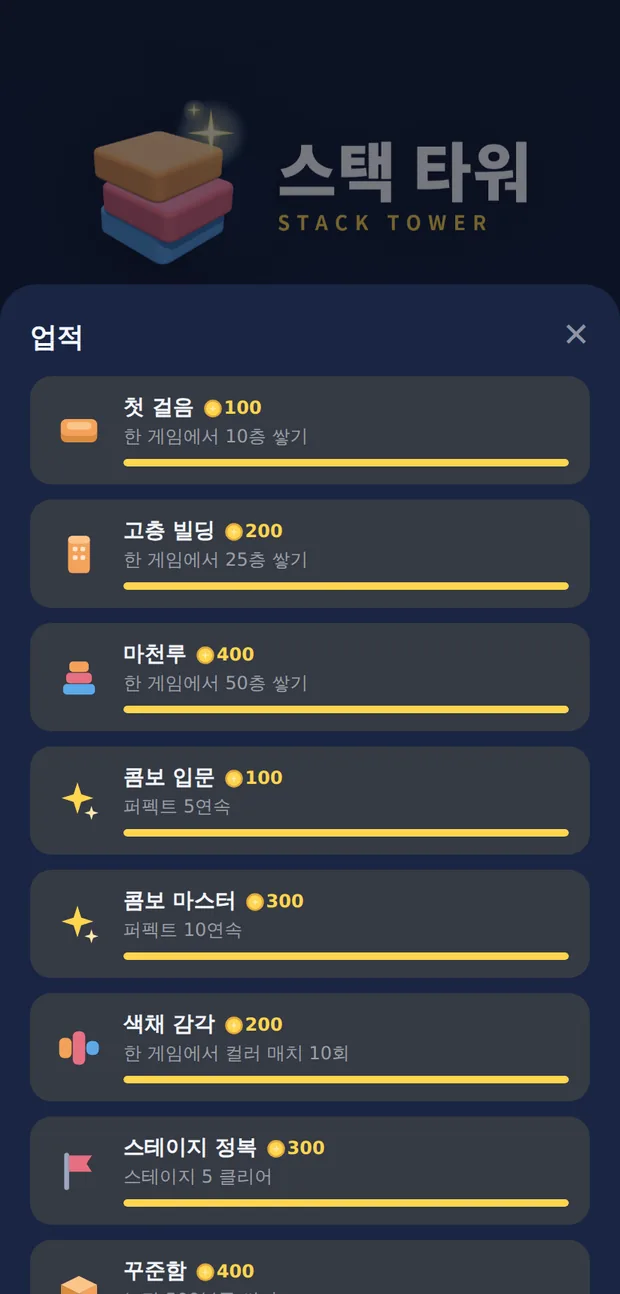
| Achievement | Condition | Reward |
|---|---|---|
| First Steps | Stack 10 floors in one run | 100 |
| High-rise | Stack 25 floors in one run | 200 |
| Skyscraper | Stack 50 floors in one run | 400 |
| Space Station | Stack 100 floors in one run | 1000 |
| Above the Clouds | Stack 200 floors in one run | 1500 |
| Tallest on Earth | Floor 276 in one run — Burj Khalifa height | 2500 |
| Combo Starter | 5 perfects in a row | 100 |
| Combo Master | 10 perfects in a row | 300 |
| Perfectionist | 20 perfects in a row | 600 |
| On Fire | Enter fever mode 3 times | 150 |
| Furnace | Enter fever mode 20 times | 500 |
| Colour Sense | 10 colour matches in one run | 200 |
| Gold Collector | Collect 10 golden blocks | 200 |
| Gold Vein | Collect 50 golden blocks | 500 |
| Persistence | Stack 500 blocks in total | 400 |
| Bricklayer | Stack 2,000 blocks in total | 600 |
| Master Builder | Stack 10,000 blocks in total | 2000 |
| Regular | Play 100 games | 500 |
| Speedster | Floor 35 in one Time Attack run | 500 |
| Stage Conqueror | Clear stage 5 | 300 |
| Stage Expert | Clear stage 10 | 600 |
| Stage Legend | Clear stage 20 | 1200 |
| Traveller | Conquer 5 landmarks | 300 |
| Explorer | Conquer 10 landmarks | 800 |
| World Conqueror | Conquer every landmark | 1500 |
| First Win | Win a 1:1 duel | 200 |
| Duelist | Win 10 duels | 800 |
| Daily Regular | Play the Daily Challenge 3 times | 200 |
| Week Streak | Daily Challenge 7 days in a row | 400 |
| Month Streak | Daily Challenge 30 days in a row | 1500 |
| Fashionista | Own every block skin | 1000 |
| Interior Designer | Unlock every standard theme | 800 |
| Fully Upgraded | Max out every upgrade | 1500 |
Colour Sense is the awkward one. Colour matches come down to luck, so you're better off waiting for them to accumulate naturally in a round you can survive a long time. Go for Space Station in a Classic run with both Slow and Shield armed.
Collection awards such as Fashionista, Interior Designer and Fully Upgraded open the moment you buy the last item in the shop, handing back part of what you spent. Week Streak and Month Streak count your longest-ever Daily streak, so breaking a streak does not wipe that progress.
11. Getting to the top of the leaderboard
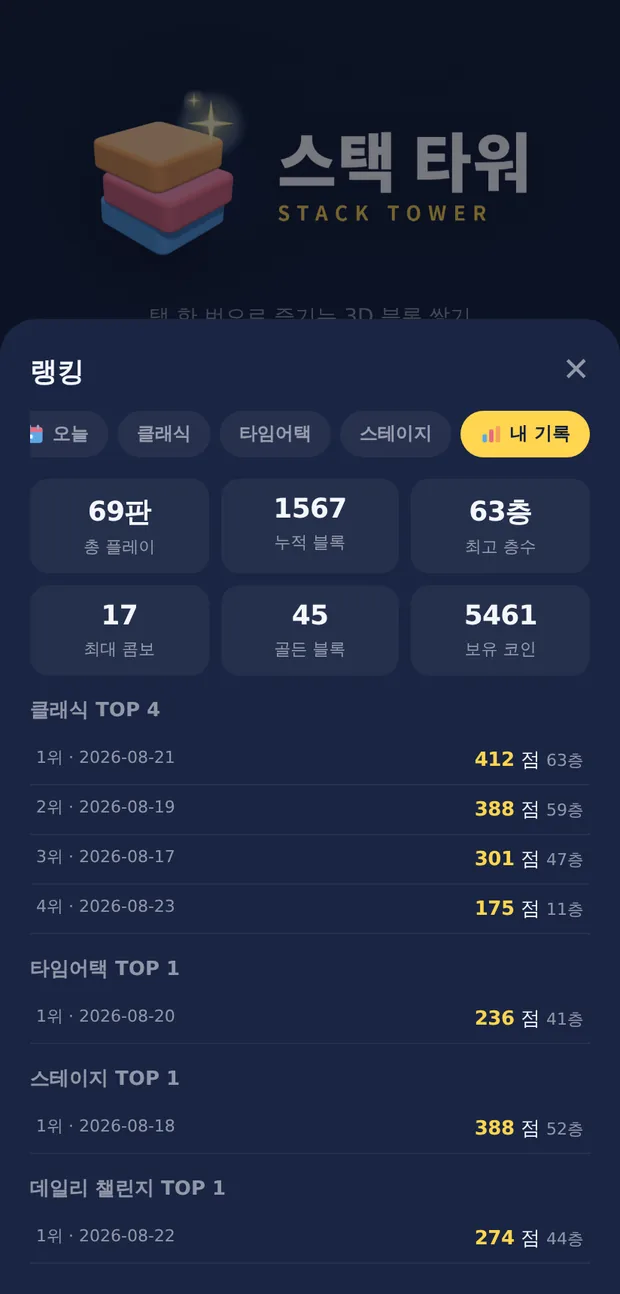
- Work on Daily. Everyone gets the same pattern, so repetition converts directly into ranking. Classic has a wide skill spread and a high barrier to entry.
- Light fever as often as you can. How many double-score windows you create decides your total. Four perfects in a row is more achievable than it sounds.
- Don't skimp on the early investment. Late-game survival time differs by more than a factor of two between a maxed-out block and one that isn't.
- Don't hoard boosters. Coins come back through daily missions and streaks. Arm a Shield for your record attempts.
- Use the best-height marker. A yellow line sits at your personal best. Once it comes into view, decide whether to play safe or push.

12. How tall is my tower? Landmark comparison
One block counts as 3 m, the same as one floor of a real building. So 30 floors is 90 m. The moment you pass one of the heights below, a banner appears on screen, and the result screen and share card both show which building you out-stacked.
| Floor | Landmark | Real height |
|---|---|---|
| 2 | Giraffe | 5.5 m |
| 3 | Cheomseongdae | 9 m |
| 7 | Great Sphinx | 20 m |
| 17 | Arc de Triomphe | 50 m |
| 19 | Leaning Tower of Pisa | 56 m |
| 22 | Sydney Opera House | 65 m |
| 25 | Taj Mahal | 73 m |
| 31 | Statue of Liberty | 93 m |
| 47 | Great Pyramid of Giza | 139 m |
| 57 | Washington Monument | 169 m |
| 79 | N Seoul Tower | 237 m |
| 84 | 63 Building | 250 m |
| 100 | Abeno Harukas | 300 m |
| 107 | Chrysler Building | 319 m |
| 110 | Eiffel Tower | 330 m |
| 127 | Empire State Building | 381 m |
| 181 | One World Trade Center | 541 m |
| 186 | Lotte World Tower | 556 m |
| 201 | Abraj Al Bait | 601 m |
| 212 | Tokyo Skytree | 634 m |
| 227 | Merdeka 118 | 679 m |
| 276 | Burj Khalifa | 828 m |
For realistic targets: floor 19 (Leaning Tower of Pisa) comes once you're a little used to it. Floor 31 (Statue of Liberty) is where real skill starts, and clearing floor 79 (N Seoul Tower) and floor 84 (63 Building) puts you near the top. From floor 186 (Lotte World Tower) you need to be barely missing a perfect, and floor 276 (Burj Khalifa) may well be ground nobody has set foot on yet.